
Today we’re turning up the heat with this easy grilled hamburgers video recipe . Whether you’re cooking for a few…or a few more, we’ll share tips and tricks for grilling tasty hamburgers EVERY. SINGLE. TIME.
Grilled Hamburgers
We’ve all been to that summer party where the burgers end up looking more like meatballs orfootballs….round with all kind of excess bun. Or they end up all burnt and dry like a hockey puck. Not cool bro. And I really hope it wasn’t your party…but whether you are the guy, or you know the guy, we’re here to help!
And just a heads up – this is not a video about crazy burgers, stacked 3 feet high with aioli’s and gravy and insane concotions. There’s some great ingredients in the world but you’ll have to look elsewhere for that mac and chees stuffed burger with the flamin Cheetos dusted donut buns.
Here at Red Meat Lover we’re all about “Cooking Meat, made easy”….so let’s get started.
Recipe:
- Beef: We’re making hamburgers, so you will need beef. As a matter of fact, it’s the only ingredient you really need, but we’ll probably add some others. You can use many different types of meat for grilled hamburgers, not just beef. No matter what type of meat you use, don’t use anything that is too lean, it can dry out easily. I prefer beef that has at least a 20% or greater fat content (80/20). I personally prefer ground chuck.
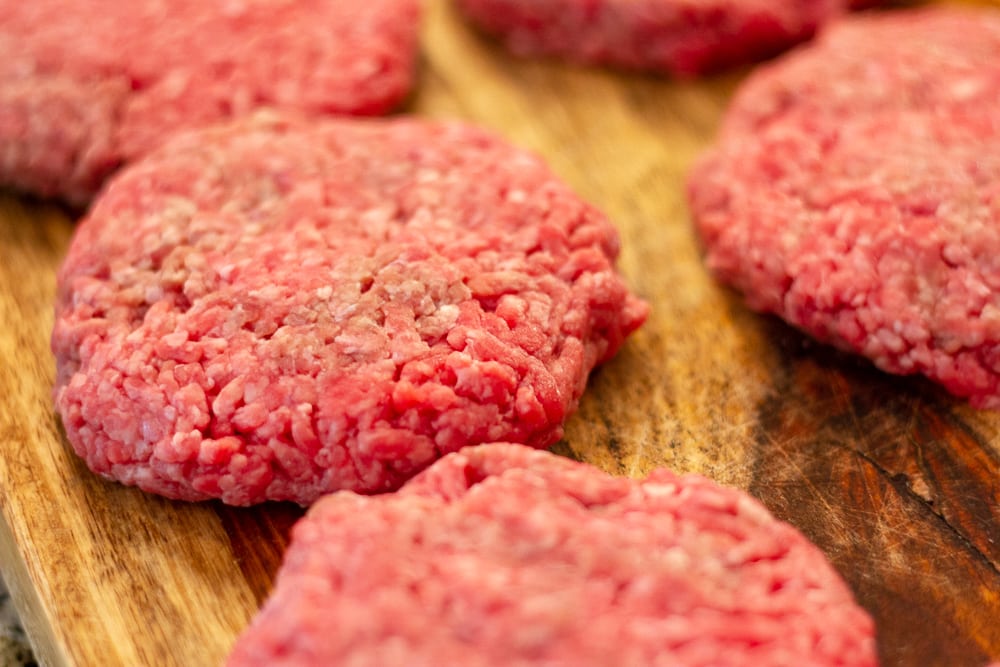
- Shape: Next, you need to shape the beef into patties. You can do this by hand or use items around the house to form a round shape. I prefer to use a pickle lid for a gallon jar….perfect shape. I’ve also used an egg skillet. These shaping tools are especially handy when making a lot of hamburgers for a crowd. I like my hamburgers about 1/3 of a pound, before cooking.
- Season: Once they’re shaped, season with Olive Oil, salt & pepper….nothing more. We’re not making meatloaf so you don’t need eggs, onions, etc. Keep it simple, especially when cooking for a crowd.
- One Final Step: Once they’re seasoned, make an indention in the center of the hamburger, using your thumb. Press down hard but not so much that you push through the meat. This thumb indent will result in even cooking of the hamburgers and prevents the rounding of the burger during cooking.
- Firm Hamburgers: It is important to firm up the hamburgers before cooking. The burgers can be refrigerated as long as the night before or as short as 20 minutes before cooking. This will prevent them from falling apart on the grill.
Grilling Tips
Before we can start grilling the hamburgers, we’ll need a fire. I use lump charcoal. It cooks hotter and cleaner than briquettes. 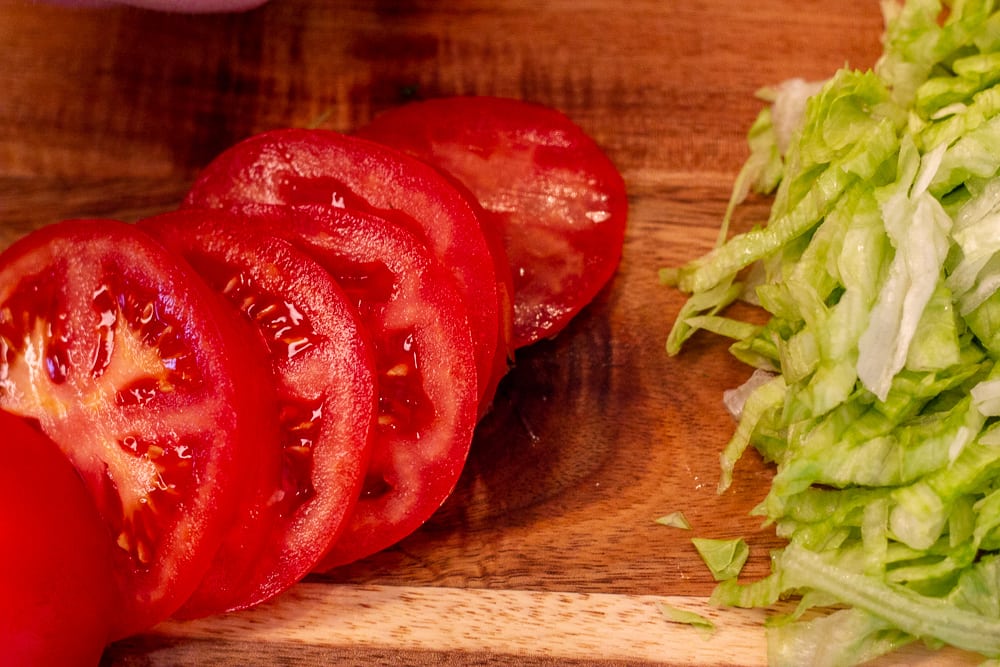
- Hot Fire: When cooking hamburgers, a nice hot fire is what you want. The most common mistake I see, are fires which are not hot enough. Avoid any cool parts of the grill as indirect heat can cause the Hamburgers to dry out. A hot fire is key.
- Avoid Flare Ups: You don’t want the flame “eating” your burger…..this will make it burnt and dry. Once you begin to get flare ups, place the lid of the grill down on the base if the flames attack the burger. However, be sure to leave the top grates open.
- Reduce Flips: Try to flip the grilled hamburgers only 1 time. If you need to flip more than once, that means that you don’t have your burgers over the hottest parts of the grill. Instead of overcrowding the grill, build a bigger fire, that fills the grill “edge to edge” or reduce the number of hamburgers cooking simultaneously.
- Don’t Press: This is a big one! We all know that one guy that presses all the juice out of the burger…..totally destroys it. Don’t be that dude…grab your beer and leave it alone. Do not press the spachula on top of the hamburger, that will completely dry it out….turn it into a hockey puck. Don’t be that guy!
- Avoid Overcrowding: As I mentioned, a hot fire is key to making tasty grilled hamburgers. If you overcrowd the grill with burgers, it will slow down the cooking process resulting in more of a “steamed” burger rather than a grilled one. If you have space around the exterior of the grill, use that indirect heat to make toasty buns (see below).
- Temperature: I like to cook my burgers all the way through to medium well – 145+ Farenheit. I think it’s too risky to go with anything less than that, although I know many may disagree. And remember, if you’re unsure of the temperature, you can’t go wrong w a thermometer either….no shame in that game.
Grilled Hamburgers
 Now that we got the tips out of the way, this part is incredibly easy.
- On the Grill: Place hamburgers on the grill over the hot part of the fire only. Again, do not overcrowd the grill by trying to do too much. If you have a small fire, use the extra grill space to toast the buns.
- Timing: Let each patty cook for about 2 – 3 minutes / side. It’s an art, not a science. There are a lot of variables including temperature of the heat as well as the thickness of the burger.
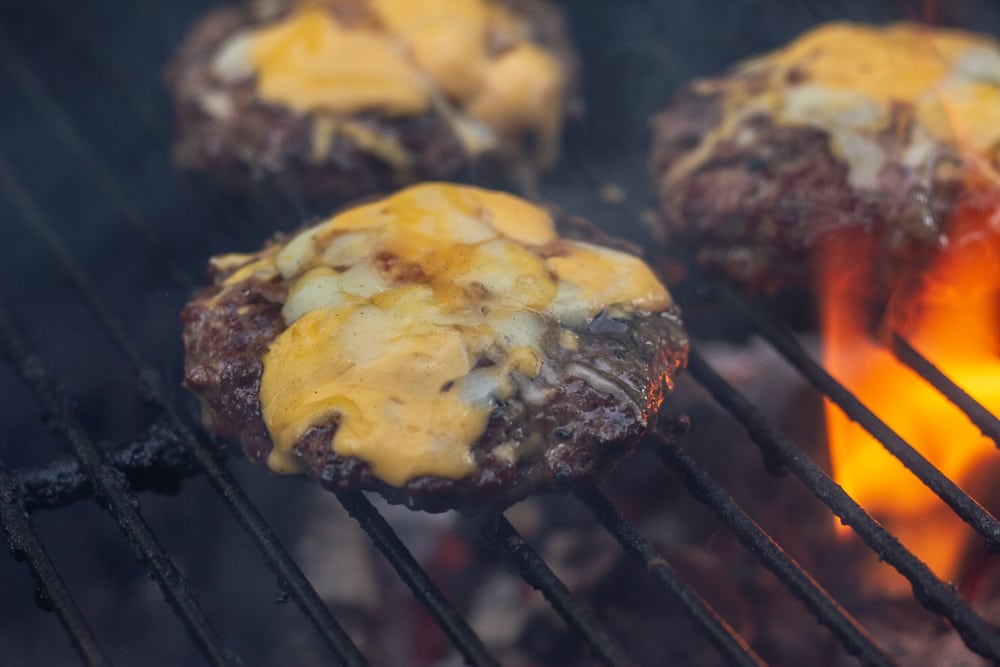
- Cheese: When the burgers are about 3/4 of the way done or about 60 – 90 seconds remaining, put the cheese on top of the burger and put the lid of the grill on. Having the grill on will help create the steam needed to melt the cheese.
- Plate: Remove grilled hamburgers to a plate. Do not place directly on the bun, as you don’t want them to get soggy.
Toasty Buns
Brush some olive oil or melted butter over both sides of the bun. Place them over indirect heat around the exterior of the grill. Do not place them over direct heat or they will burn….and nobody likes burnt buns. Also, I like em toasty on the top and bottom, so give it a flip so both sides have that crunch.
Grilled Hamburgers Video Recipe
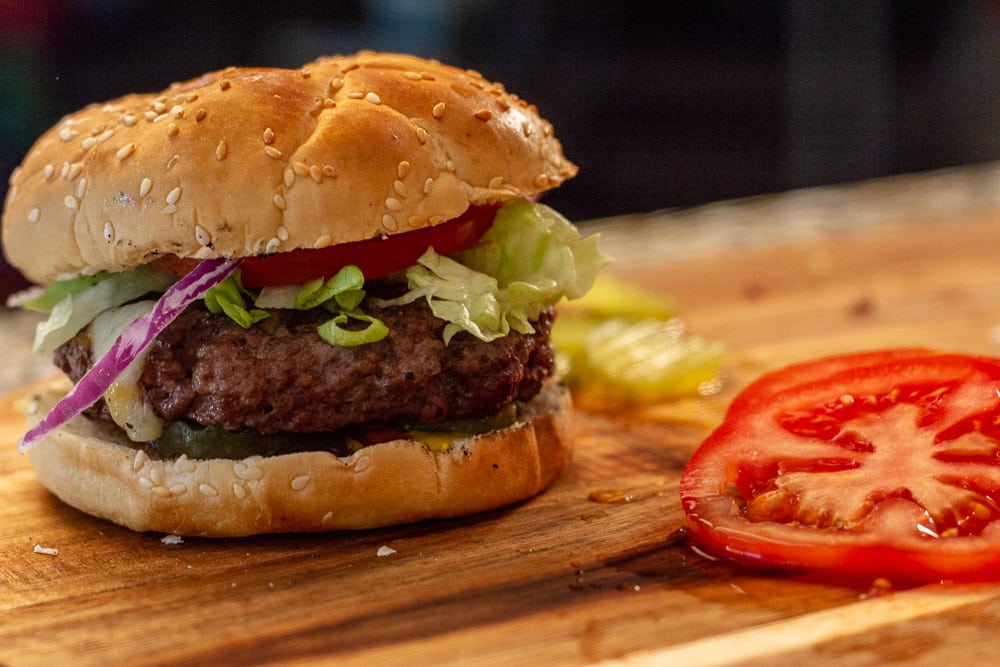 These burgers took a total of 6 minutes too cook. They were incredibly juicy and flavorful. Grab a beer and go ahead and give your grill a thrill with these super easy grilled hamburgers. They’re simply great for any occasion. And remember, a burger with no cheese is like a hug with no squeeze…..ya just gotta have it!
– Peace,
Joey


- Make the patties into rounds about the size of a medium pickle jar lid.
- Drizzle with olive oil and add salt and pepper. Do this for both sides of the burgers.
- Press your thumb in the middle of the burger. (This prevents the burger from balling when cooking.)
- Refrigerate the patties for 20 minutes.
- Place the burgers on the grill and cook for 3 minutes.
- Flip the burgers and cook for an additional 3 minutes. (Do not press down on the burgers.)
- Add olive oil to the buns.
- While burgers are cooking for the additional three minutes place the buns on the grill.
- Place cheese on the burgers and flip the buns.
- Place the bbq grill dome on and let cook for another 60 - 90 seconds.
- Remove everything from grill. (Do not place burgers on the buns until ready to you are ready to build.)
- Build the burgers and garnish with your favorite toppings.
- Serve.
2 Comments on “Grilled Hamburgers Video Recipe – Tips & Tricks for Grilling Tasty Burgers”
Excellent! George L.
Thank you for the great feedback, much appreciated!